KubeSphere
TIP
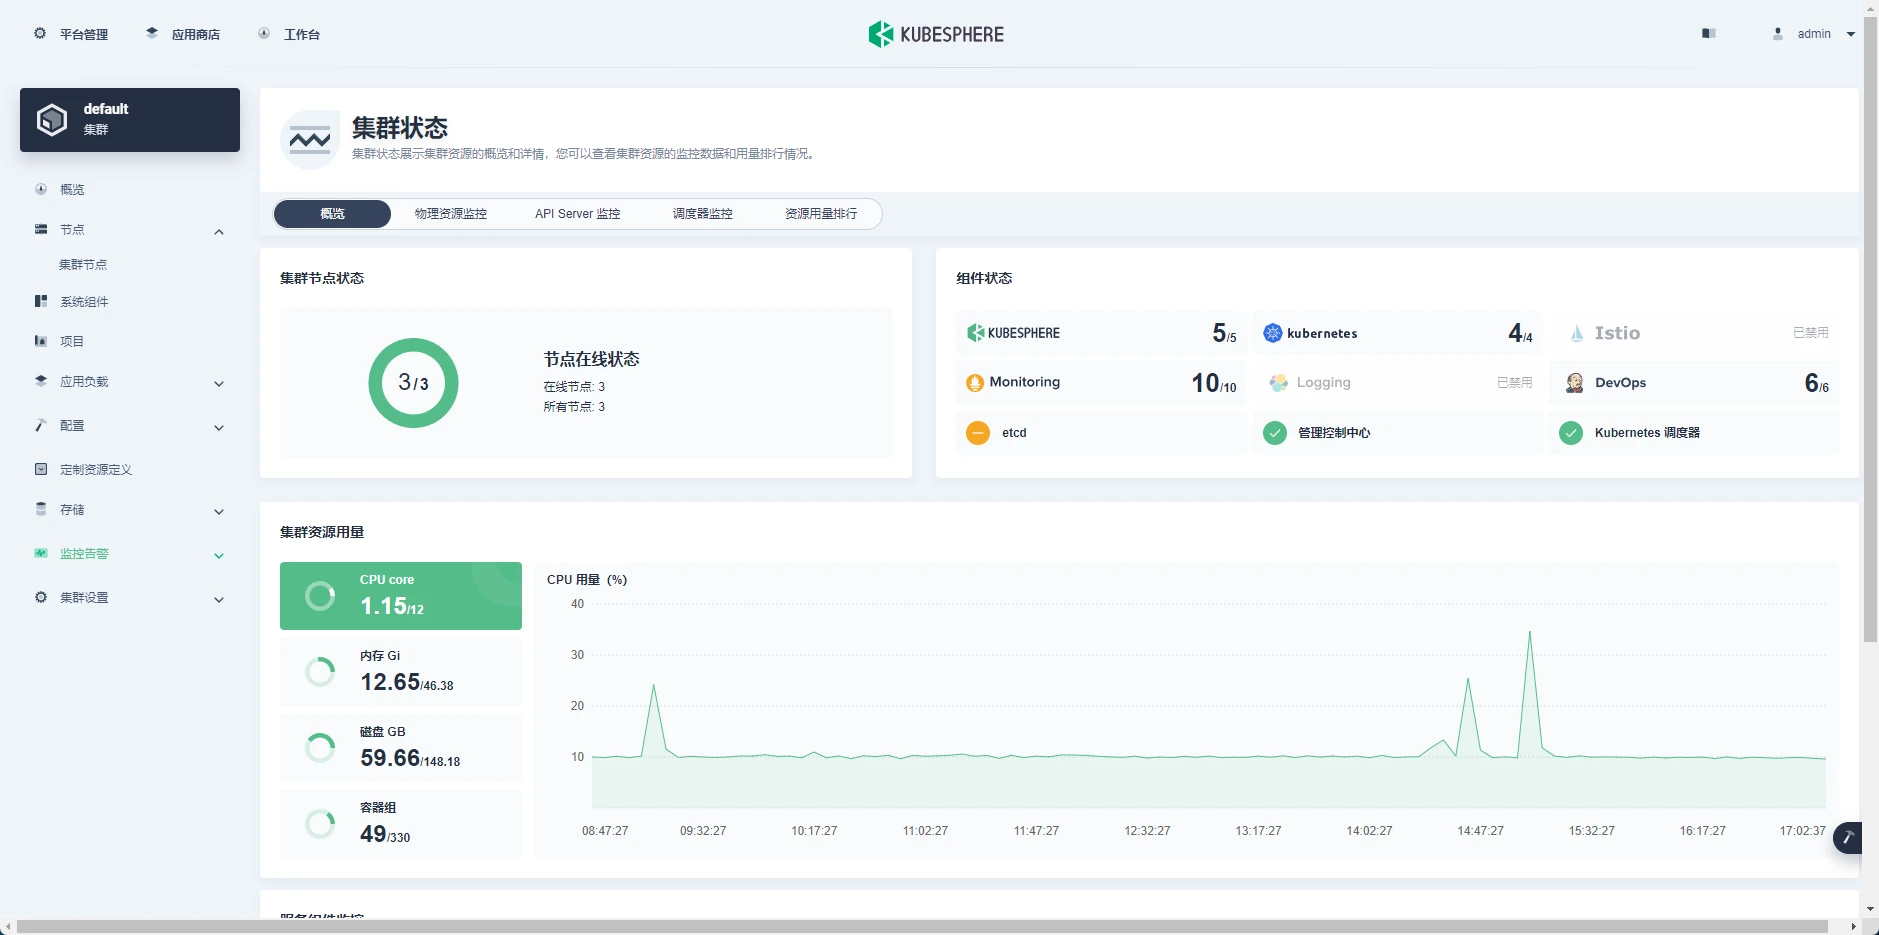
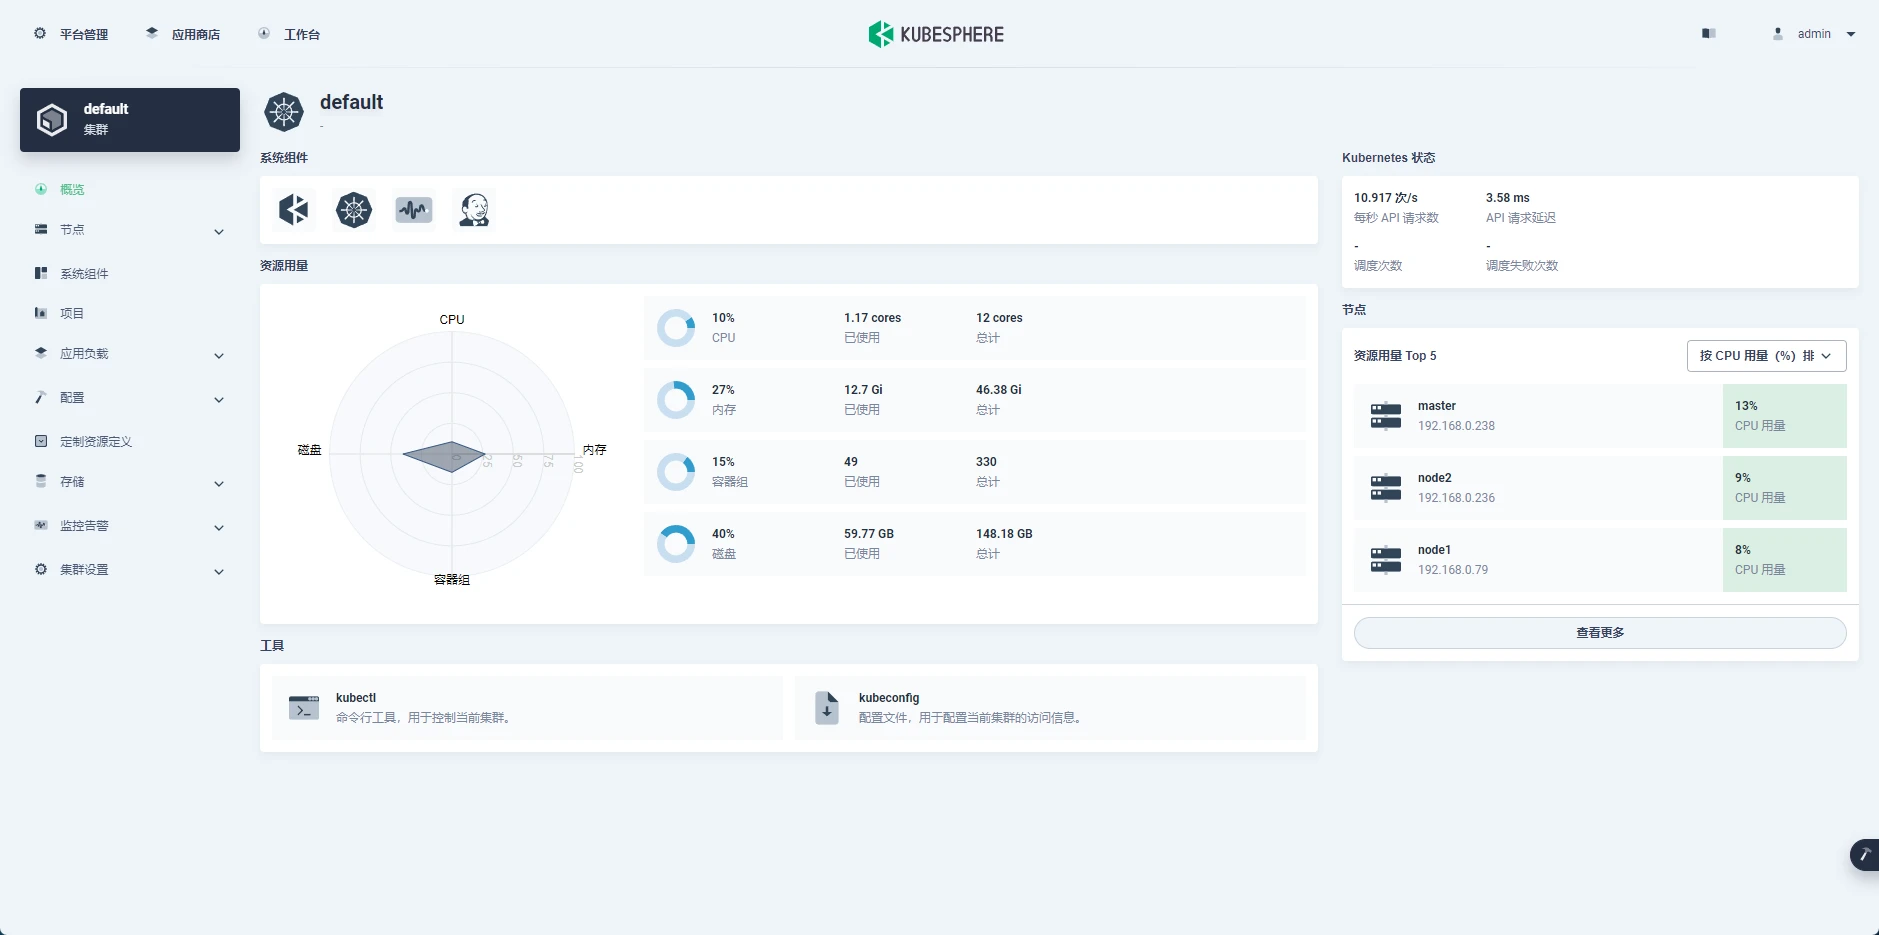
KubeSphere 是一个开源的容器平台,旨在帮助企业快速部署容器化应用,并支持容器应用的持续集成、持续交付、持续部署。
本文档在已经安装好k8s的情况下,介绍如何安装KubeSphere。
https://kubesphere.io/zh/docs/v3.4/quick-start/minimal-kubesphere-on-k8s/
| 主机IP | 主机名 | 角色 |
|---|---|---|
| 192.168.0.238 | control plane | control plane, etcd |
| 192.168.0.236 | node1 | worker |
| 192.168.0.79 | node2 | worker |

1,安装
bash
kubectl apply -f https://github.com/kubesphere/ks-installer/releases/download/v3.4.1/kubesphere-installer.yaml

kubectl apply -f https://github.com/kubesphere/ks-installer/releases/download/v3.4.1/cluster-configuration.yaml
2,检查日志
bash
kubectl logs -n kubesphere-system $(kubectl get pod -n kubesphere-system -l 'app in (ks-install, ks-installer)' -o jsonpath='{.items[0].metadata.name}') -f

# 安装成功#####################################################
###              Welcome to KubeSphere!           ###
#####################################################

# Console: http://192.168.1.238:30880
# Account: admin
# Password: P@88w0rd
3,查看服务
bash
kubectl get svc/ks-console -n kubesphere-system

# NAME         TYPE       CLUSTER-IP     EXTERNAL-IP   PORT(S)        AGE
# ks-console   NodePort   10.98.129.12   <none>        80:30880/TCP   2d22h
4,浏览器打开
http://192.168.1.238:30880,默认账号密码: admin/P@88w0rd

5,启用DevOps
https://kubesphere.io/zh/docs/v3.4/pluggable-components/devops/
bash
# 1,登录控制平台
# 2,打开定制资源定义,搜索 clusterconfiguration
# 3,点击编辑YAML,修改devops配置
devops:
  enabled: true
# 4,点击保存
# 5,查看过程
kubectl logs -n kubesphere-system $(kubectl get pod -n kubesphere-system -l 'app in (ks-install, ks-installer)' -o jsonpath='{.items[0].metadata.name}') -f

# 6,查看结果
kubectl get pod -n kubesphere-devops-system

# NAME                                 READY   STATUS      RESTARTS   AGE
# devops-28590180-cnshn                0/1     Completed   0          80m
# devops-28590210-8bqgk                0/1     Completed   0          50m
# devops-28590240-kxwpw                0/1     Completed   0          20m
# devops-apiserver-57b84ddf48-7rnv6    1/1     Running     0          2d22h
# devops-controller-7779fd7c4f-rjwq7   1/1     Running     0          2d22h
# devops-jenkins-8646748f6-97lj2       1/1     Running     0          28h
# s2ioperator-0                        1/1     Running     0          2d22h
6,自定义jenkins Agent
TIP
1,平台管理,选择集群管理,然后在左侧导航栏点击配置下的配置字典
2,找到配置jenkins-casc-config,点击编辑YAML
3,在data.jenkins_user.yaml:jenkins.clouds.kubernetes.templates下添加自己的配置
https://kubesphere.io/zh/docs/v3.4/devops-user-guide/how-to-use/pipelines/customize-jenkins-agent/
yaml
- name: "mvn17" # 镜像名称,下方所有containers.name 都为该镜像名称
  namespace: "kubesphere-devops-worker"
  label: "mvn17" #标签,后续使用这个标签来选择环境并创建pod
  nodeUsageMode: "EXCLUSIVE"
  idleMinutes: 0
  containers:
  - name: "mvn17"
    image: "ylw1280426581/jdk17-mvn-docker:v1" #自定义镜像
    command: "cat"
    args: ""
    ttyEnabled: true
    privileged: false
    resourceRequestCpu: "100m"
    resourceLimitCpu: "4000m"
    resourceRequestMemory: "100Mi"
    resourceLimitMemory: "8192Mi"
  - name: "jnlp"
    image: "jenkins/inbound-agent:4.10-2"
    args: "^${computer.jnlpmac} ^${computer.name}"
    resourceRequestCpu: "50m"
    resourceLimitCpu: "500m"
    resourceRequestMemory: "400Mi"
    resourceLimitMemory: "1536Mi"
  workspaceVolume:
    emptyDirWorkspaceVolume:
      memory: false
  volumes:
  - hostPathVolume:
      hostPath: "/var/run/docker.sock" #映射docker,如果要使用docker,需要镜像本身有docker,不然会报docker命令找不到
      mountPath: "/var/run/docker.sock"
  - hostPathVolume:
      hostPath: "/var/data/jenkins_maven_cache"
      mountPath: "/root/.m2"
  - hostPathVolume:
      hostPath: "/var/data/jenkins_sonar_cache"
      mountPath: "/root/.sonar/cache"
  yaml: |
    spec:
      affinity:
        nodeAffinity:
          preferredDuringSchedulingIgnoredDuringExecution:
          - weight: 1
            preference:
              matchExpressions:
              - key: node-role.kubernetes.io/worker
                operator: In
                values:
                - ci
      tolerations:
      - key: "node.kubernetes.io/ci"
        operator: "Exists"
        effect: "NoSchedule"
      - key: "node.kubernetes.io/ci"
        operator: "Exists"
        effect: "PreferNoSchedule"
      containers:
      - name: "mvn17"
        resources:
          requests:
            ephemeral-storage: "1Gi"
          limits:
            ephemeral-storage: "10Gi"
        volumeMounts:
        - name: config-volume
          mountPath: /opt/apache-maven-3.5.3/conf/settings.xml
          subPath: settings.xml
      volumes:
        - name: config-volume
          configMap:
            name: ks-devops-agent
            items:
            - key: MavenSetting
              path: settings.xml
      securityContext:
        fsGroup: 1000
7,JAVA项目实例
TIP
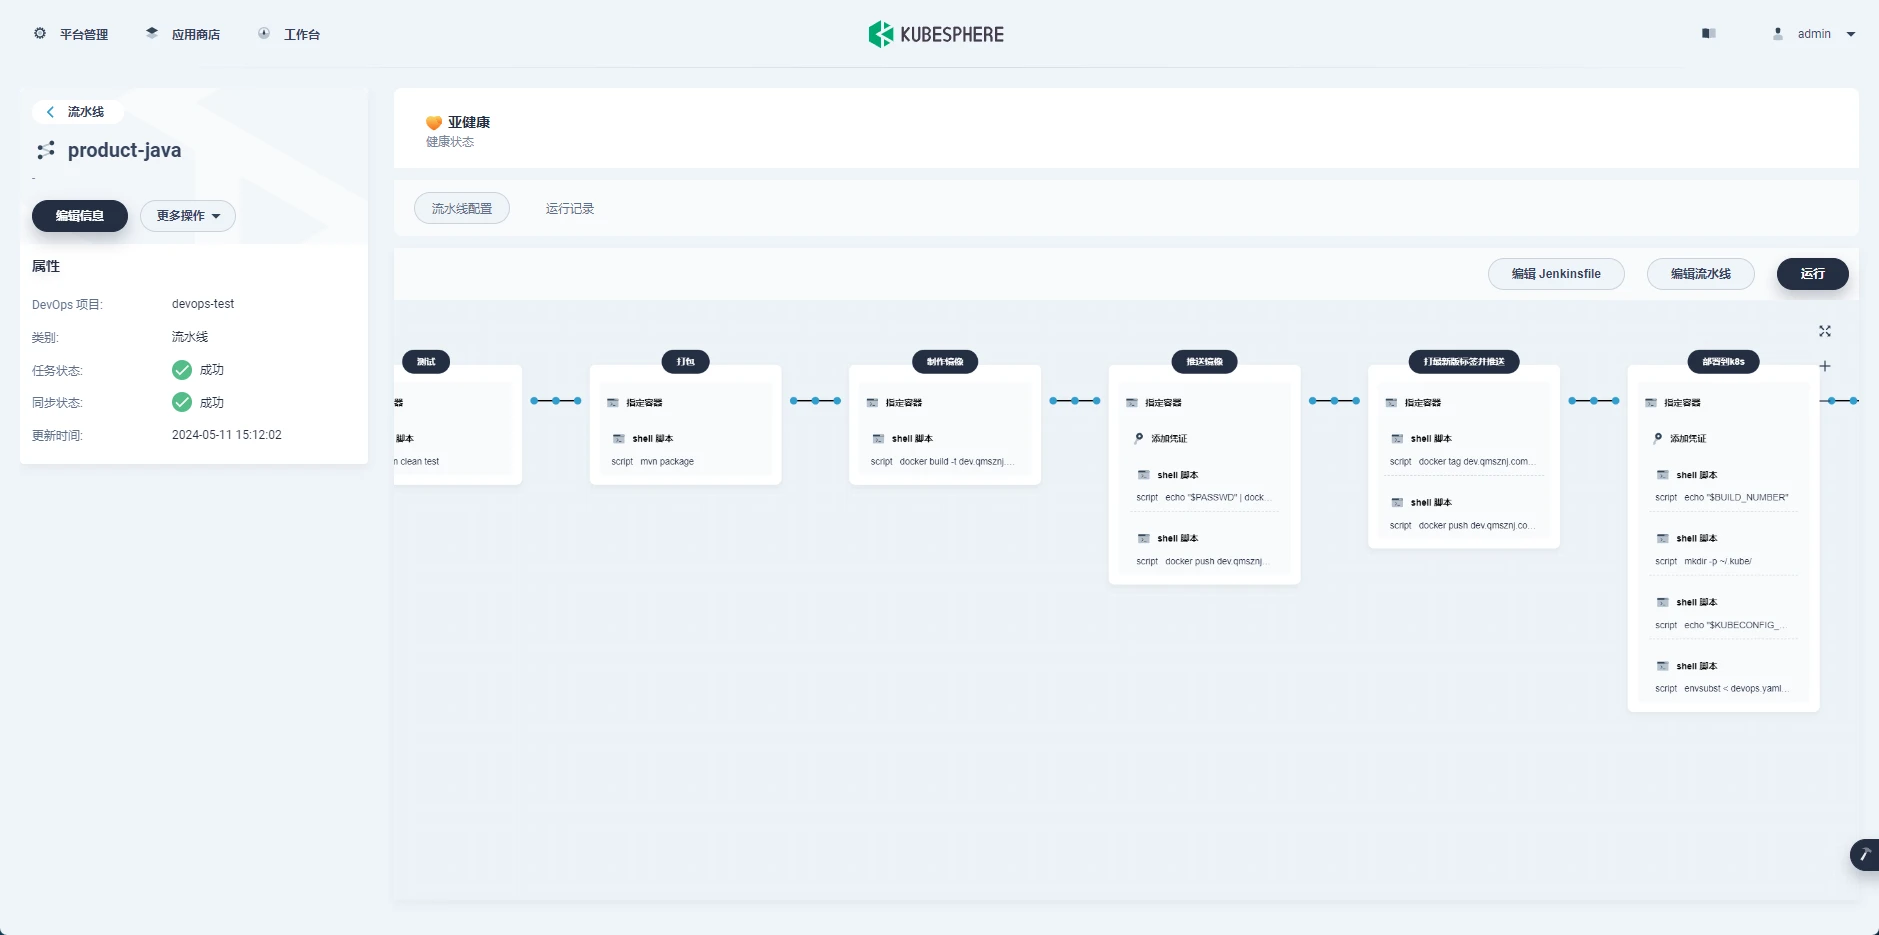
本项目使用了java17,maven3.9.6,docker,k8s,原生提供的环境不支持,需要增加Jenkins agent 配置
包含整套持续集成配置

yaml
pipeline {
  agent {
    node {
      label 'mvn17'  #使用自定义的agent标签
    }

  }
  stages {
    stage('拉取代码') {
      agent none
      steps {
        git(url: 'http://xxxx/product.git', credentialsId: '1023650d-328e-48d8-8d4f-a23b37486d2d', branch: 'master', changelog: true, poll: false)
      }
    }

    stage('预编译') {
      steps {
        container('mvn17') {
          sh 'mvn compile'
        }

      }
    }

    stage('测试') {
      steps {
        container('mvn17') {
          sh 'mvn clean test'
        }

      }
    }

    stage('打包') {
      steps {
        container('mvn17') {
          sh 'mvn package'
        }

      }
    }

    stage('制作镜像') {
      steps {
        container('mvn17') {
          sh 'docker build -t xxxx/library/product:$BUILD_NUMBER .'
        }

      }
    }

    stage('推送镜像') {
      agent none
      steps {
        container('mvn17') {
          withCredentials([usernamePassword(credentialsId: 'harbor-login-info', passwordVariable: 'PASSWD', usernameVariable: 'USER')]) {
            sh 'echo "$PASSWD" | docker login xxxx -u "$USER" --password-stdin'
            sh 'docker push xxxx/library/product:$BUILD_NUMBER'
          }

        }

      }
    }

    stage('打最新版标签并推送') {
      agent none
      steps {
        container('mvn17') {
          sh 'docker tag xxxx/library/product:$BUILD_NUMBER xxxx/library/product:latest'
          sh 'docker push xxxx/library/product:latest'
        }

      }
    }

    stage('部署到k8s') {
      agent none
      steps {
        container('mvn17') {
          withCredentials([kubeconfigContent(credentialsId: 'my-kubeconfig', variable: 'KUBECONFIG_CONFIG')]) {
            sh 'echo "$BUILD_NUMBER"'
            sh 'mkdir -p ~/.kube/'
            sh 'echo "$KUBECONFIG_CONFIG" > ~/.kube/config'
            sh 'envsubst < devops.yaml | kubectl apply -f -'
          }

        }

      }
    }

    stage('保存制品') {
      agent none
      steps {
        archiveArtifacts(artifacts: 'target/*.jar', followSymlinks: false)
      }
    }

  }
}
8,遇到的问题
1,没有默认storageClass
bash
# https://kubernetes.io/zh-cn/docs/concepts/storage/storage-classes/#local

# 创建yaml文件
vim storageclass.yaml
# storageclass.yaml
apiVersion: storage.k8s.io/v1
kind: StorageClass
metadata:
  name: local-storage
  annotations:
#   https://kubernetes.io/zh-cn/docs/tasks/administer-cluster/change-default-storage-class/
    storageclass.kubernetes.io/is-default-class: "true" # 设置为默认存储类
provisioner: kubernetes.io/no-provisioner
volumeBindingMode: Immediate

# 创建
kubectl apply -f storageclass.yaml

# 查看
kubectl get sc

# NAME                      PROVISIONER                    RECLAIMPOLICY   VOLUMEBINDINGMODE   ALLOWVOLUMEEXPANSION   AGE
# local-storage (default)   kubernetes.io/no-provisioner   Delete          Immediate           false                  72m
2.pvc错误
bash
# 创建
vim pv.yml

# pv.yml
apiVersion: v1
kind: PersistentVolume
metadata:
  name: pv5
  labels:
    type: local
spec:
  storageClassName: local-storage
  capacity:
    storage: 30Gi
  accessModes:
    - ReadWriteOnce
  volumeMode: Filesystem
  persistentVolumeReclaimPolicy: Delete
  local:
    path: /root/pv
  nodeAffinity:
    required:
      nodeSelectorTerms:
      - matchExpressions:
        - key: disktype
          operator: In
          values:
          - hdd

# 创建pv
kubectl apply -f pv.yaml

# NAME   CAPACITY   ACCESS MODES   RECLAIM POLICY   STATUS   CLAIM                                                             STORAGECLASS    REASON   AGE
# pv1    20Gi       RWO            Delete           Bound    kubesphere-monitoring-system/prometheus-k8s-db-prometheus-k8s-0   local-storage            2d22h
3,流水线没有docker服务
TIP
- 1,使用自定义镜像时,需要安装docker,不然使用docker时会报错
- 2,不安装k8s,使用kubectl也会报错
- 3,下面来创建自定义镜像,包含docker,k8s服务
1,编辑Dockerfile:
bash
FROM maven:3.9.6-sapmachine-17

# Install envsubst
RUN apt-get update
RUN apt-get install gettext-base

# Install Docker
RUN curl -f https://download.docker.com/linux/static/stable/x86_64/docker-24.0.9.tgz | tar xvz && mv docker/docker /usr/bin/ && rm -rf docker

# Install K8s
RUN curl -LO "https://dl.k8s.io/release/$(curl -L -s https://dl.k8s.io/release/stable.txt)/bin/linux/amd64/kubectl" && chmod +x kubectl && mv kubectl /usr/bin/

# Install Helm
RUN curl -fsSL -o get_helm.sh https://raw.githubusercontent.com/helm/helm/main/scripts/get-helm-3 && chmod 700 get_helm.sh && ./get_helm.sh

# Install kubesphere
RUN curl -fsSL https://github.com/kubesphere-sigs/ks/releases/download/v0.0.71/ks-linux-amd64.tar.gz | tar xzv && mv ks /usr/bin/

# Install kustomize
RUN curl -fL https://github.com/kubernetes-sigs/kustomize/releases/download/kustomize%2Fv5.4.1/kustomize_v5.4.1_linux_amd64.tar.gz | tar xzv && mv kustomize /usr/bin/

CMD ["docker","version"]
2,打包镜像:
bash
docker build -t ylw1280426581/jdk17-mvn-docker:v1 . # 打包镜像,镜像名称:ylw1280426581/jdk17-mvn-docker:v1
docker login # 登录docker hub
docker push ylw1280426581/jdk17-mvn-docker:v1 # 推送镜像到docker hub